Part 17 – How To Install Linux
For a complete table of contents of all the lessons please click below as it will give you a brief of each lesson in addition to the topics it will cover. https://github.com/mytechnotalent/Reverse-Engineering-Tutorial
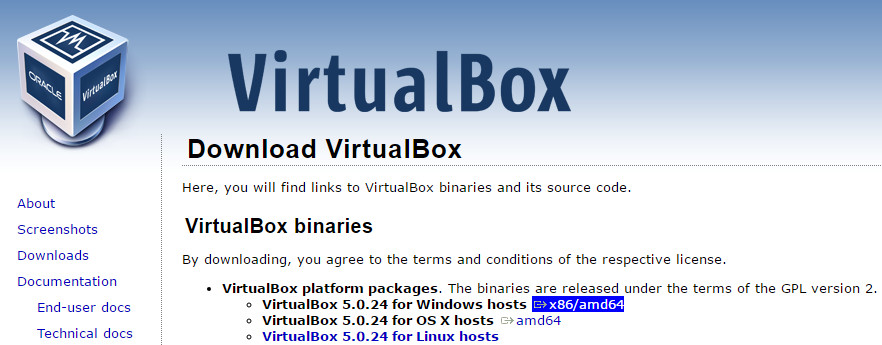
If you do not have Linux installed on a computer within your household, I would suggest installing Virtual Box which is an open-source free virtual environment which you can install on your existing computer to have a version of Linux you can program with. Below is a link to download and install Virtual Box as there are versions for both Windows and Mac.
https://www.virtualbox.org/wiki/Downloads
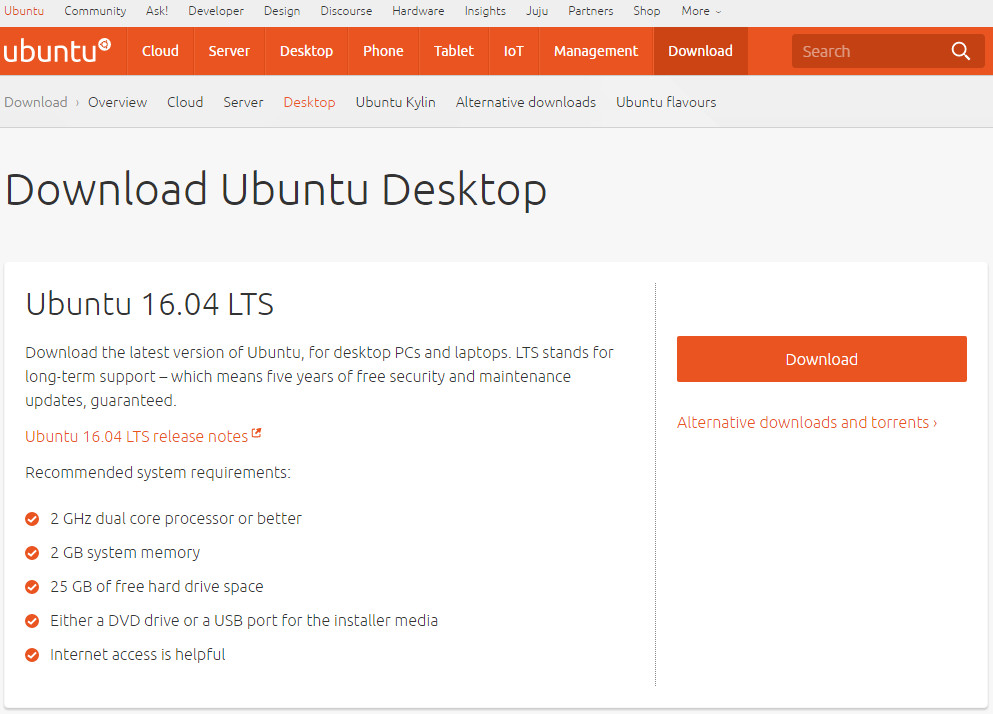
In addition, you will need a copy of Linux to which I will be working with Ubuntu. Below is a link to download the .iso file to which you will install once you have Virtual Box installed.
http://www.ubuntu.com/download/desktop
After you download the above .iso, go to your Download directory and first execute and run the VirtualBox-5.0.24-108355-Win.exe or whatever version of VirtualBox that is currently available. If you are running a Mac, you will download the .dmg file. Simply double-click on the file to execute and run it.
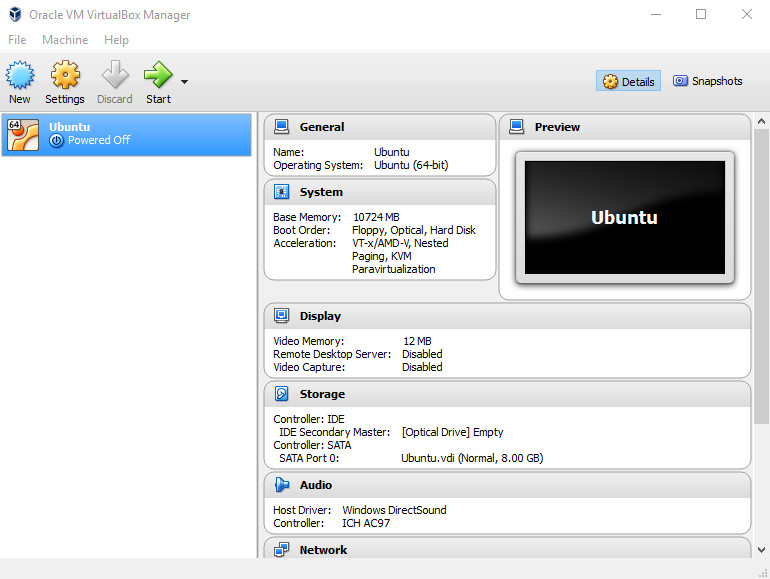
After you install VirtualBox-5.0.24-108355-Win.exe or the Mac .dmg file and you will see this screen:
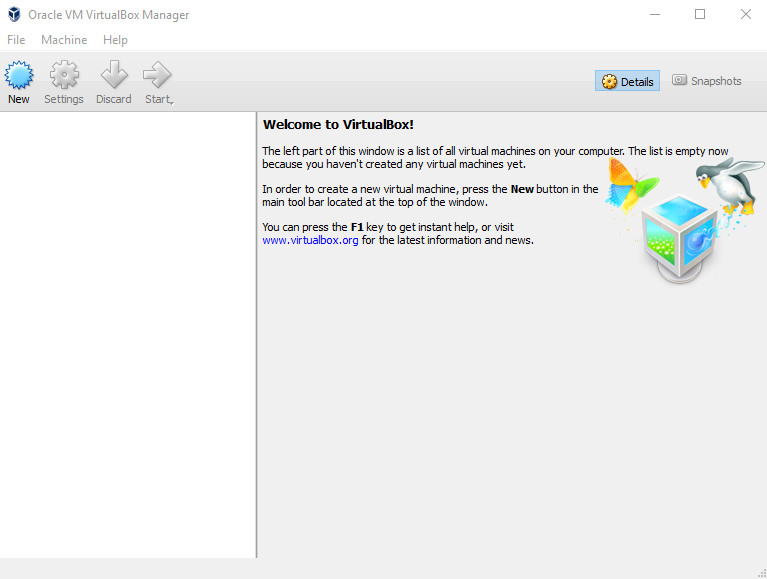
Click on the New button above which is located in the top-left corner of the screen as it is a big blue cog-looking circle.

In the name field above, type Ubuntu and click the next button.
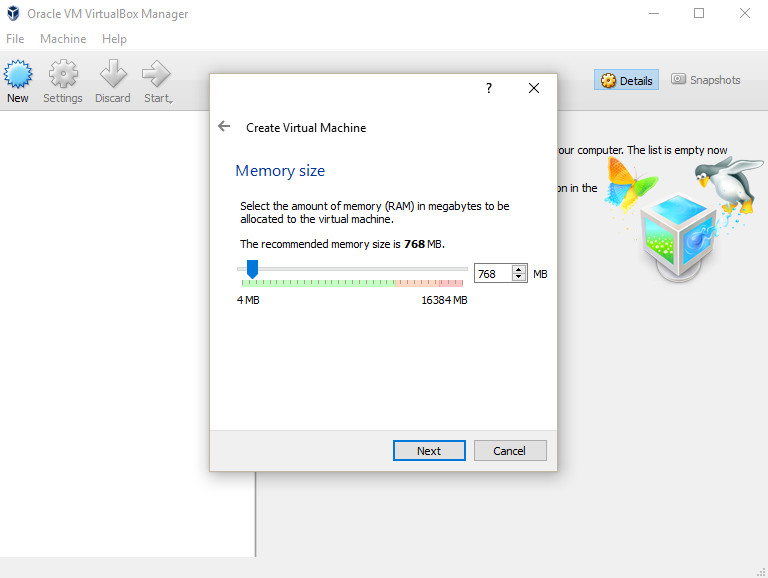
It is important to click on the blue slider bar above and select an amount of ram that points to an area in green so that it does not overwhelm your computer resources. After moving the blue slider, click next.
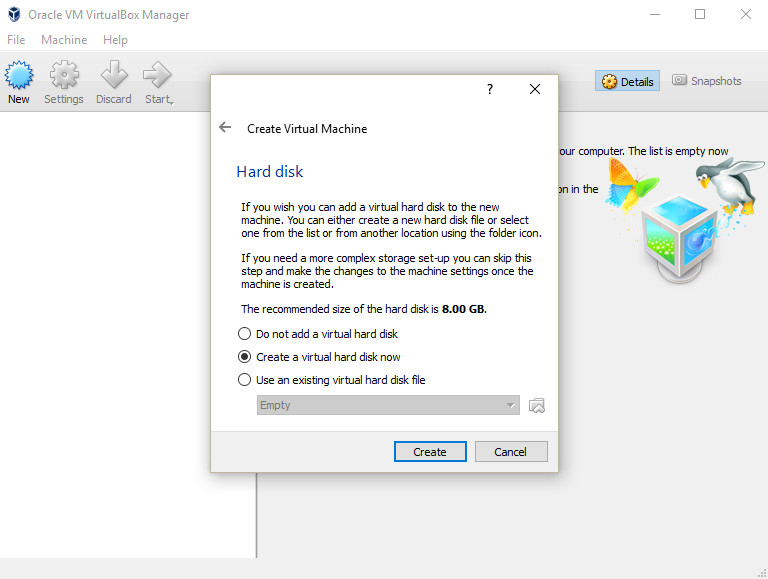
Then click create.
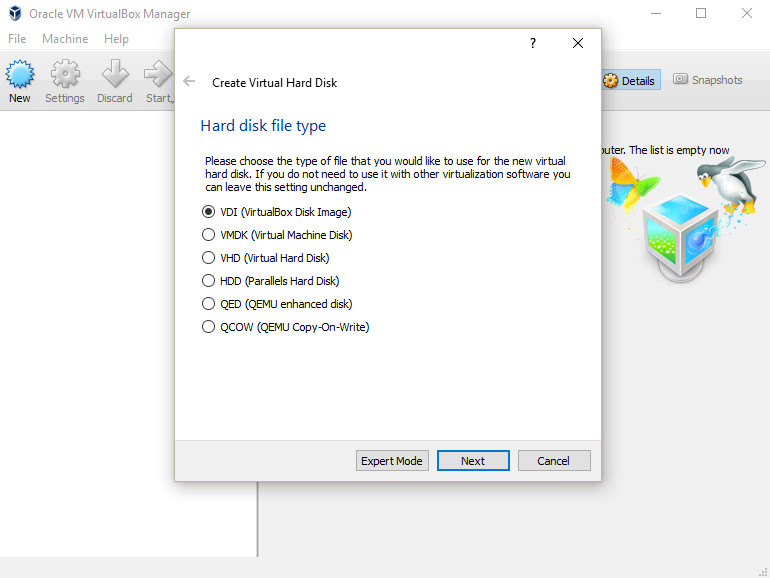
Then click next.
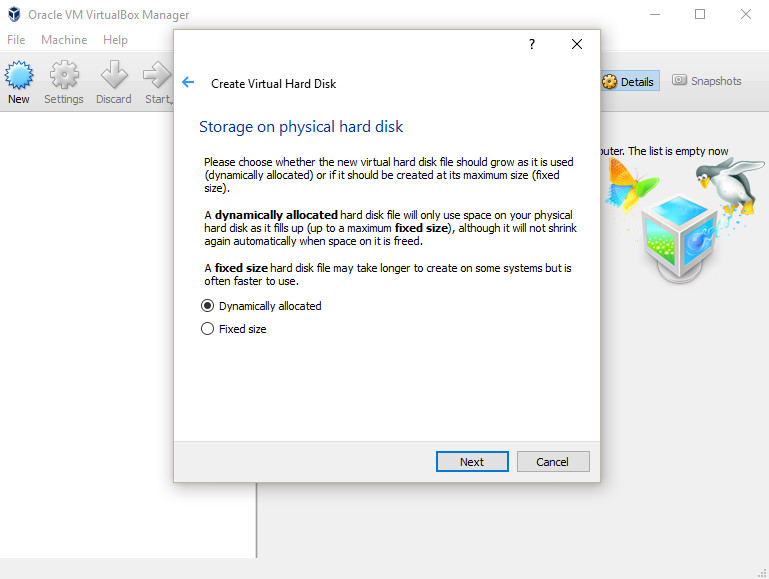
Then click next.
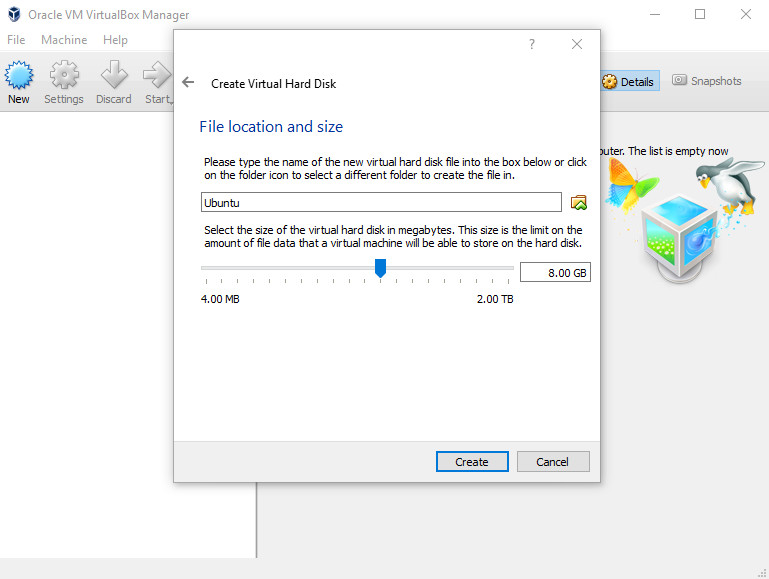
Please move the dial up to 16.00 GB rather than 8.00 GB shown above then click create.
The next step is to click on the green start button.

The next step is to click on the yellow folder just above the cancel button.
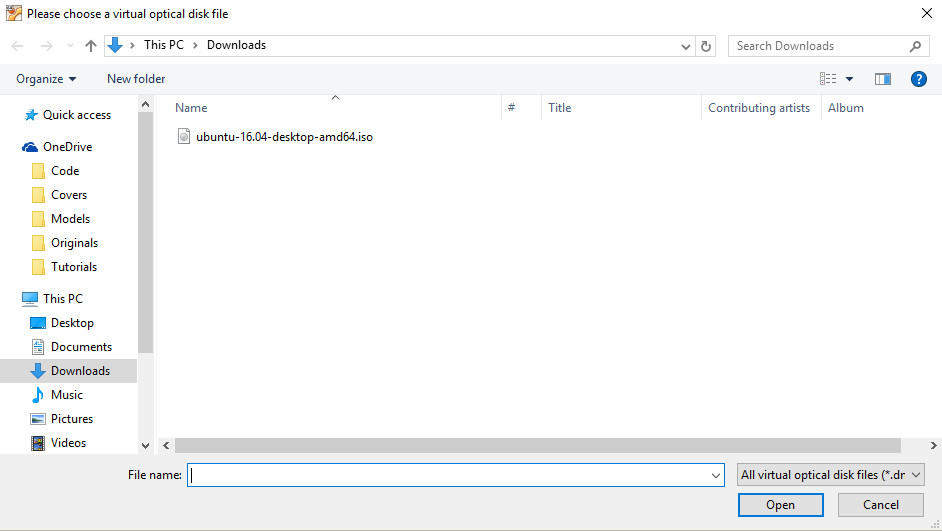
The next step is to click on the .iso file that should be in your Download directory and click open.
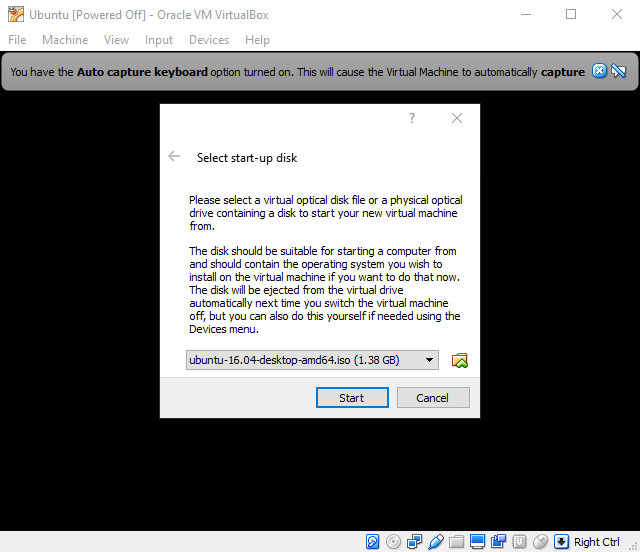
The next step is to click start.
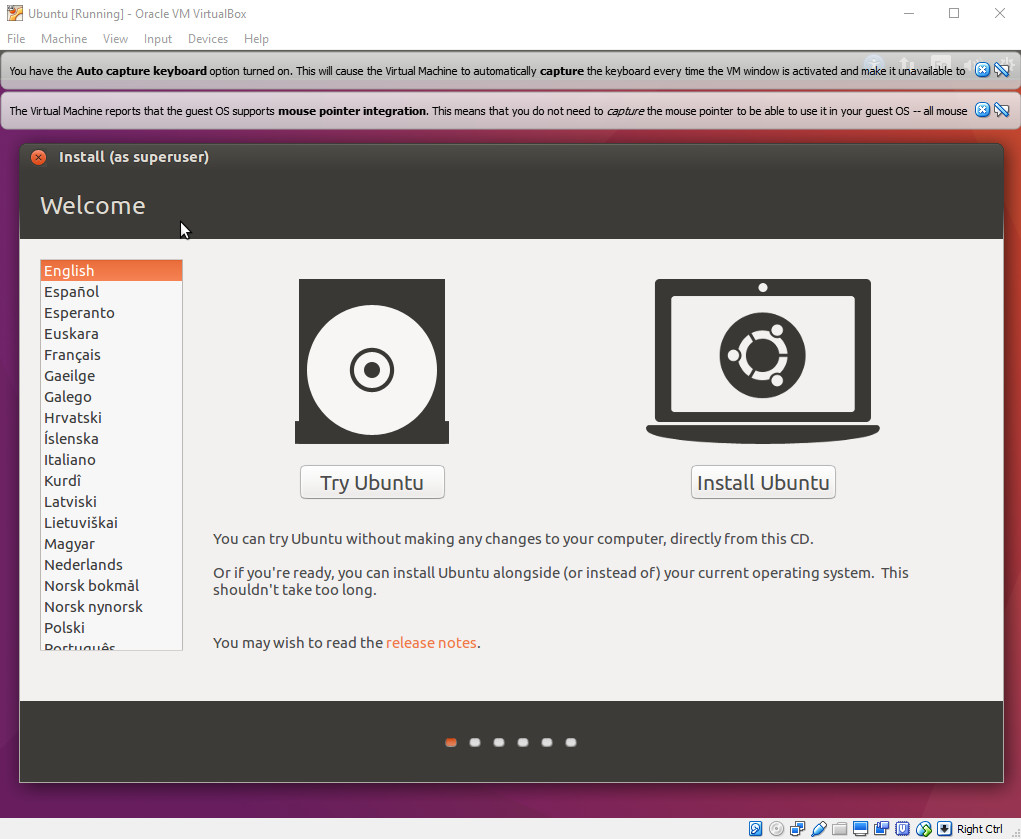
The next step is to let the install begin and click Install Ubuntu.
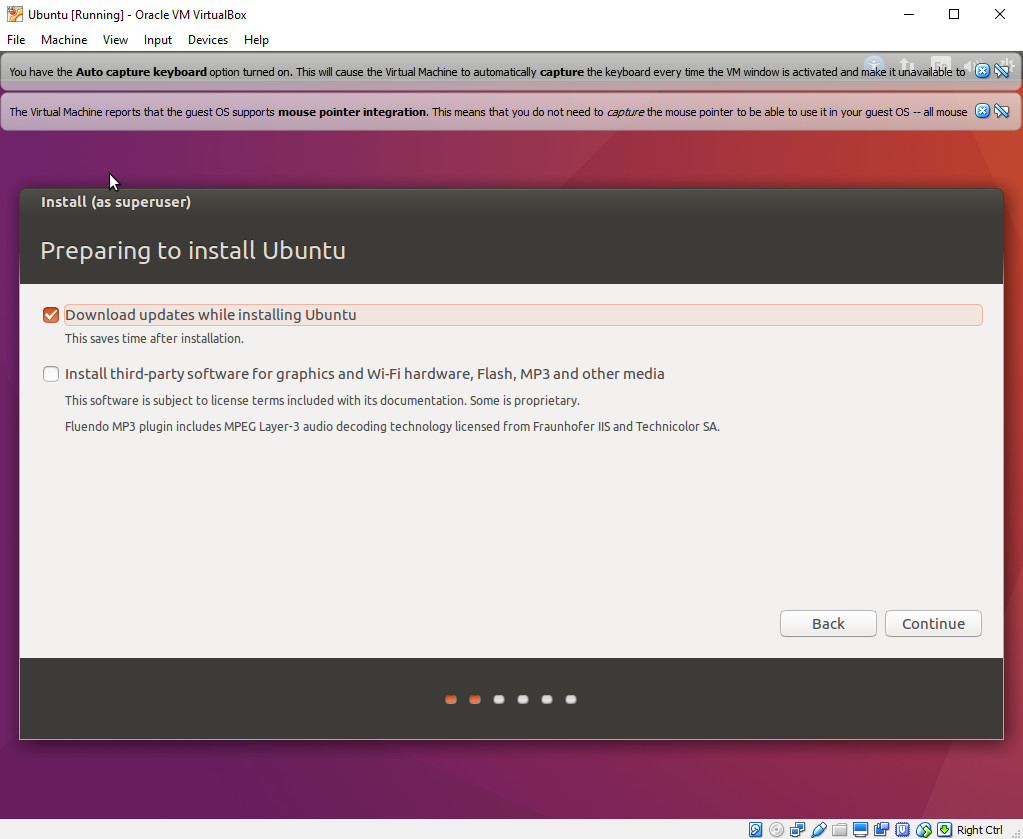
The next step is to check each of the boxes to Download updates while installing Ubuntu and click continue.
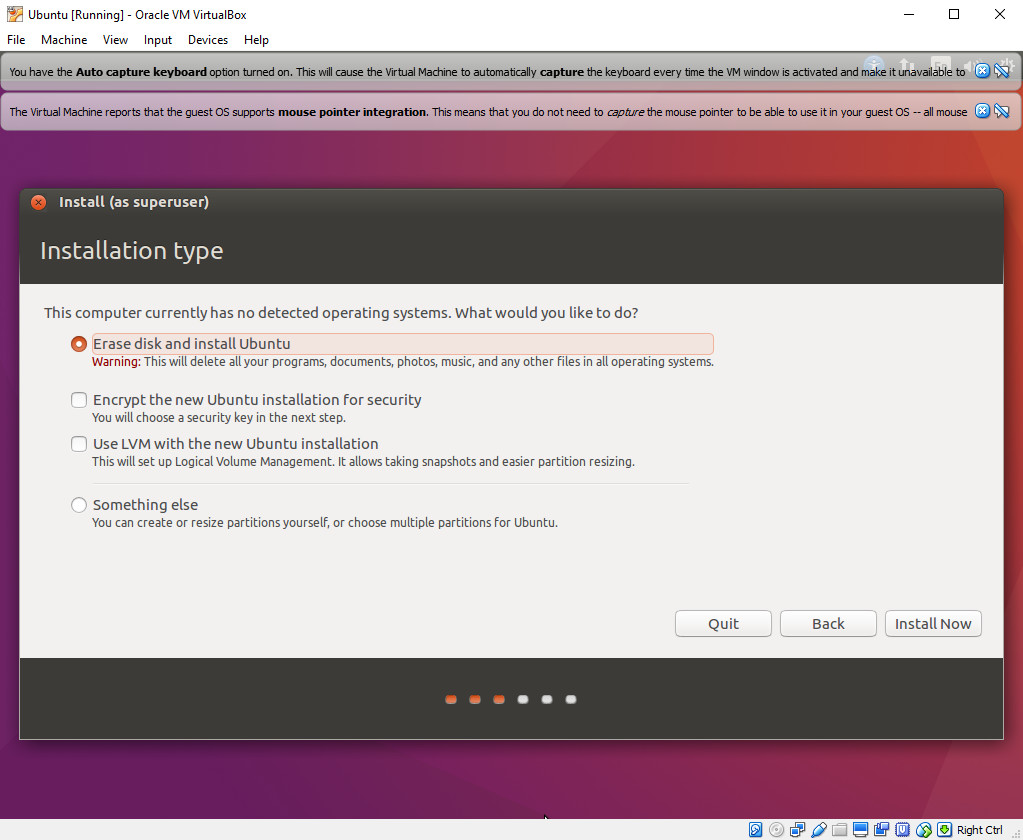
The next step is to select Erase disk and install Ubuntu and click install now.
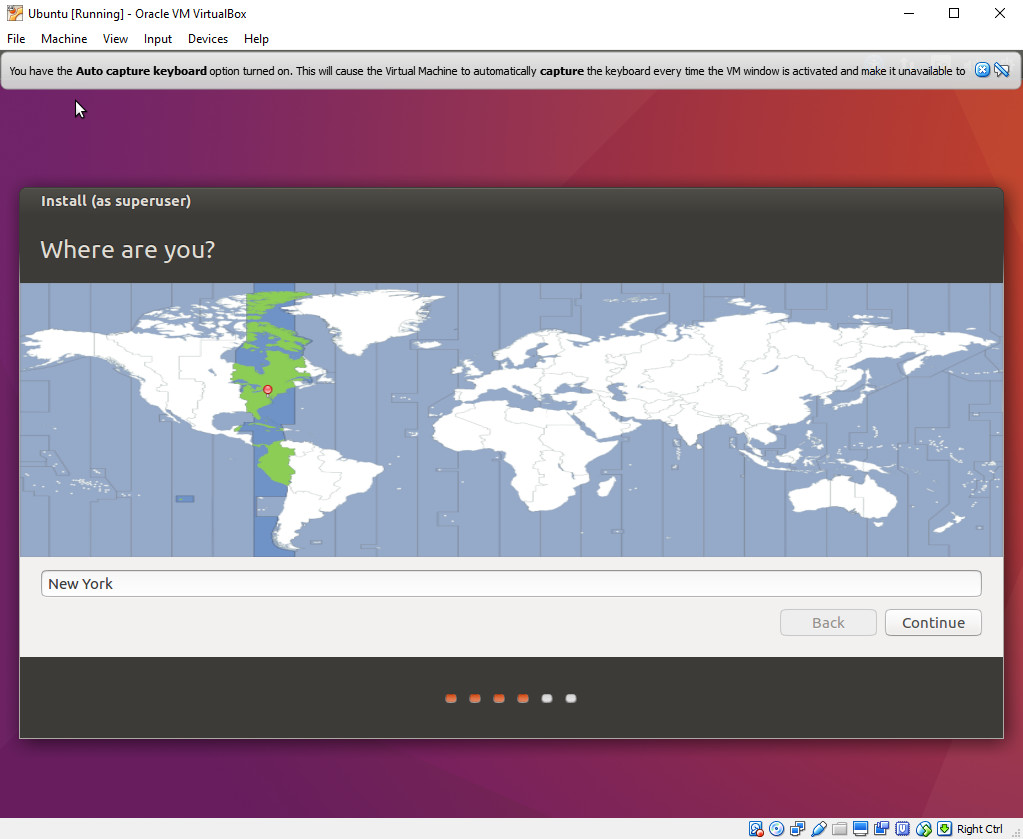
The next step is to click continue and progress forward to the screen where you will select your timezone to which you will select continue.
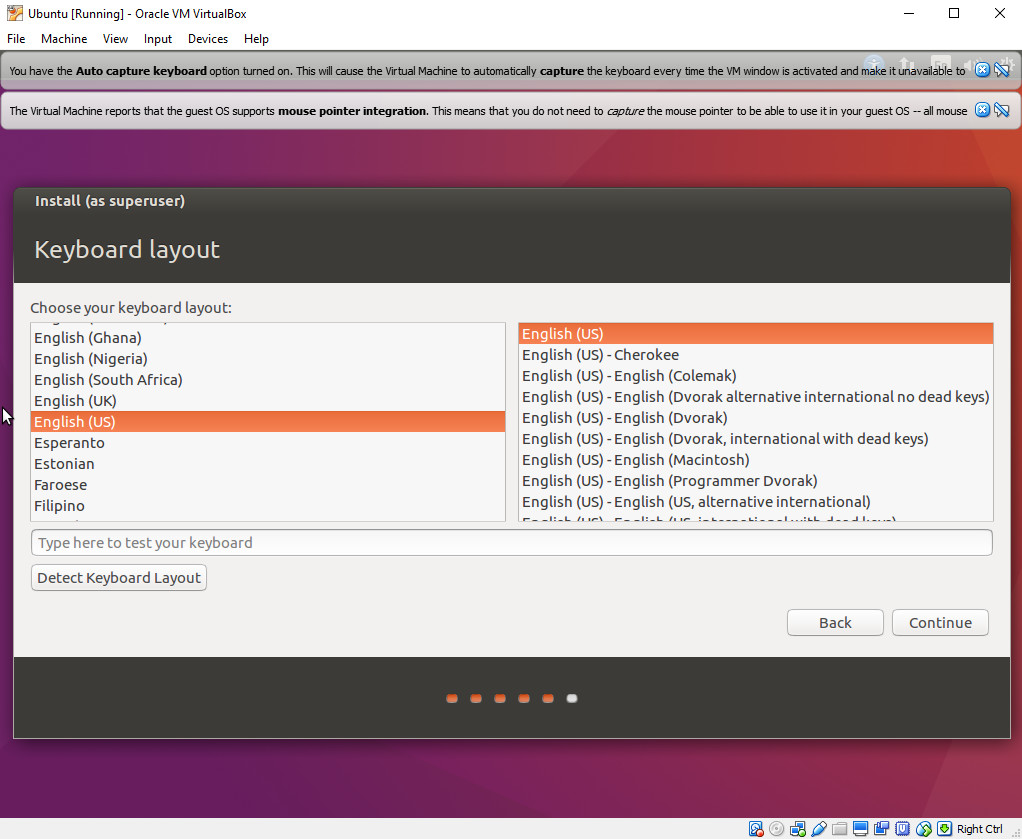
The next step is to select your keyboard layout and click continue.

The next step is to create a name for your account. I chose noroot and did the same for the username. In addition, create a password and re-type it for verification and click continue.
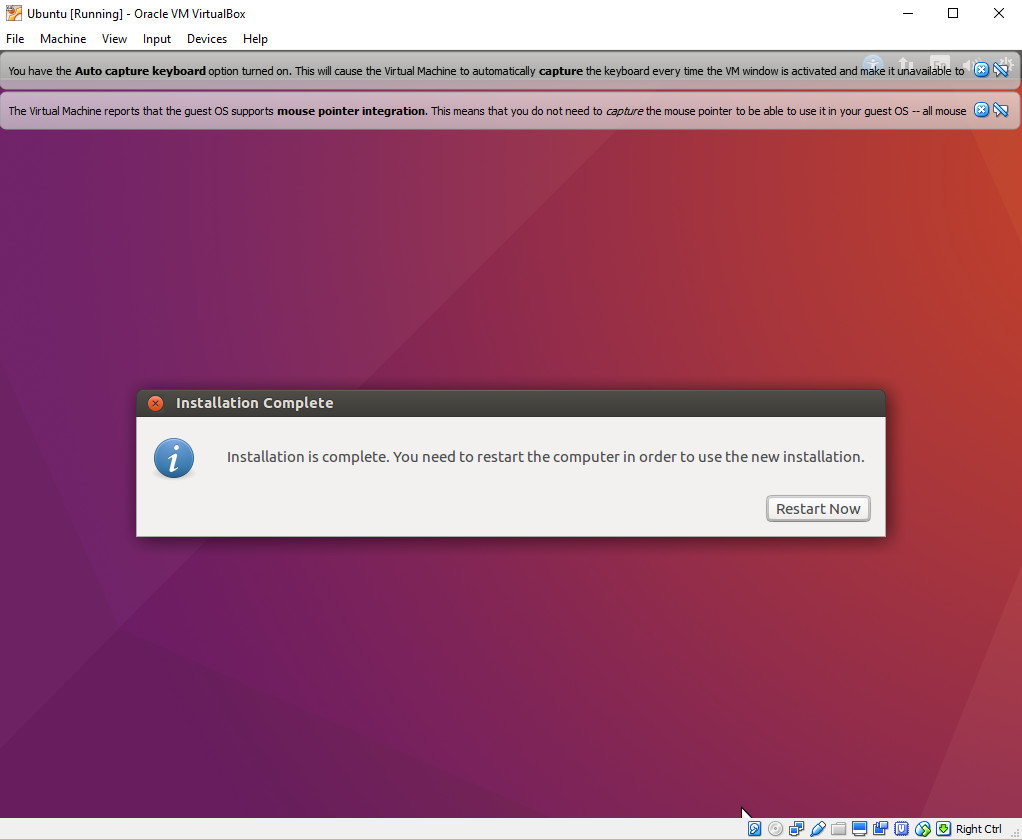
At this point it will take some time to install the operating system. When the process is finished, click restart now. If the window locks up, click Power Off The Machine and click close or next.
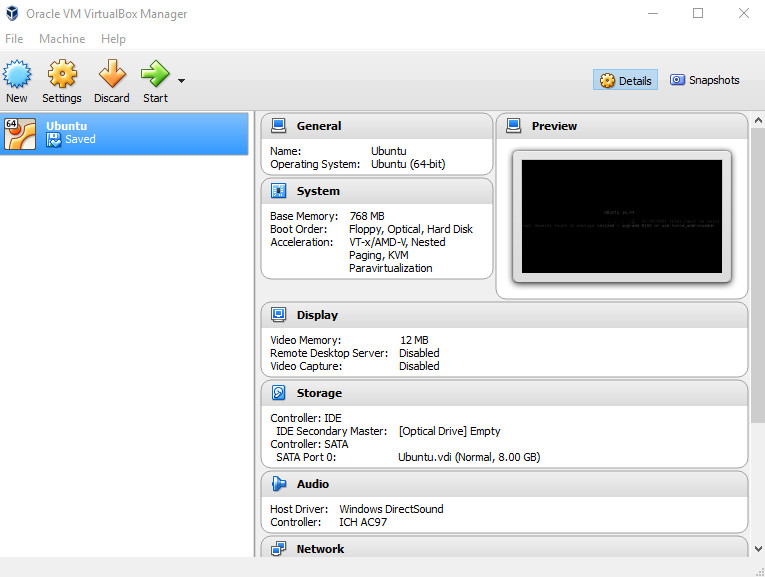
At this point, click on the green start button.
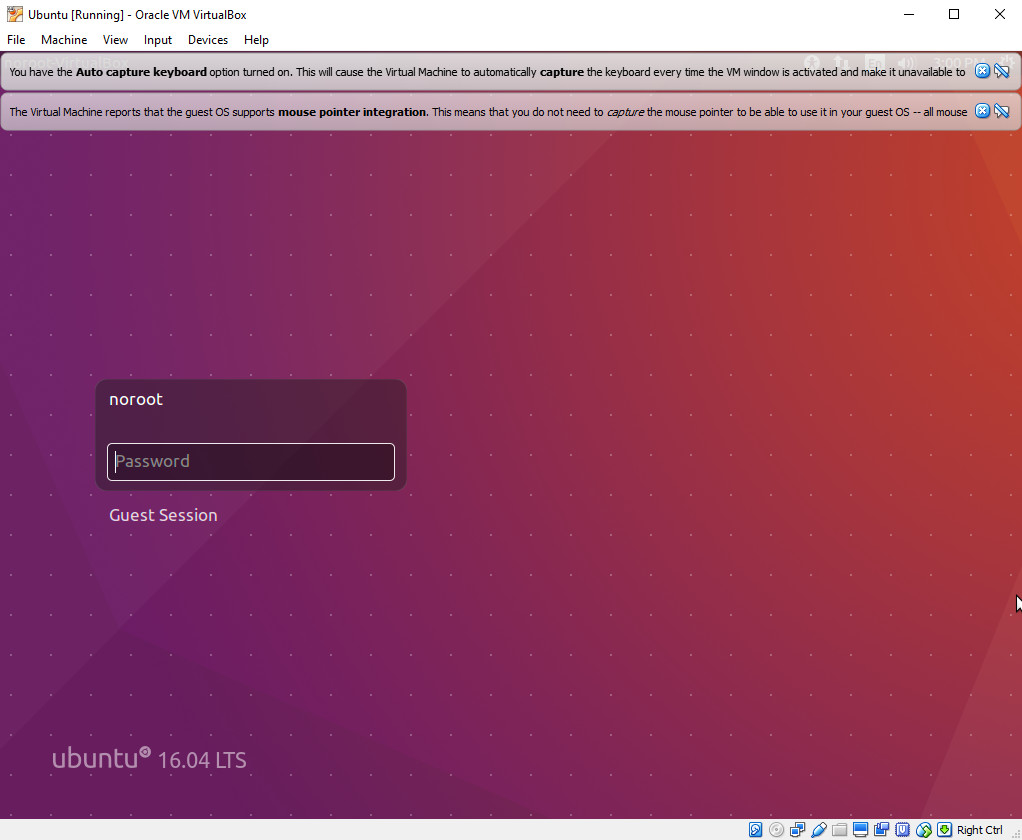
Enter in your password that you created earlier and click enter on your keyboard. You can click on the blue x buttons in the top right corner as they are just some information you can close out.
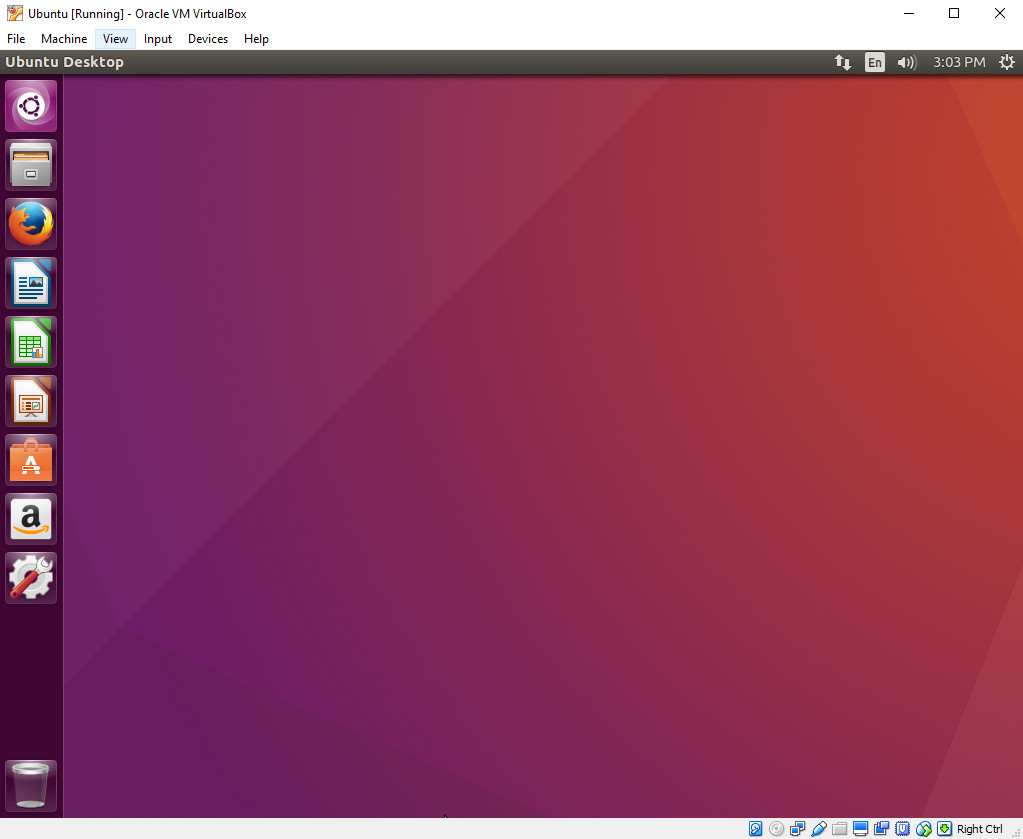
Congratulations! You have a working version of Linux!
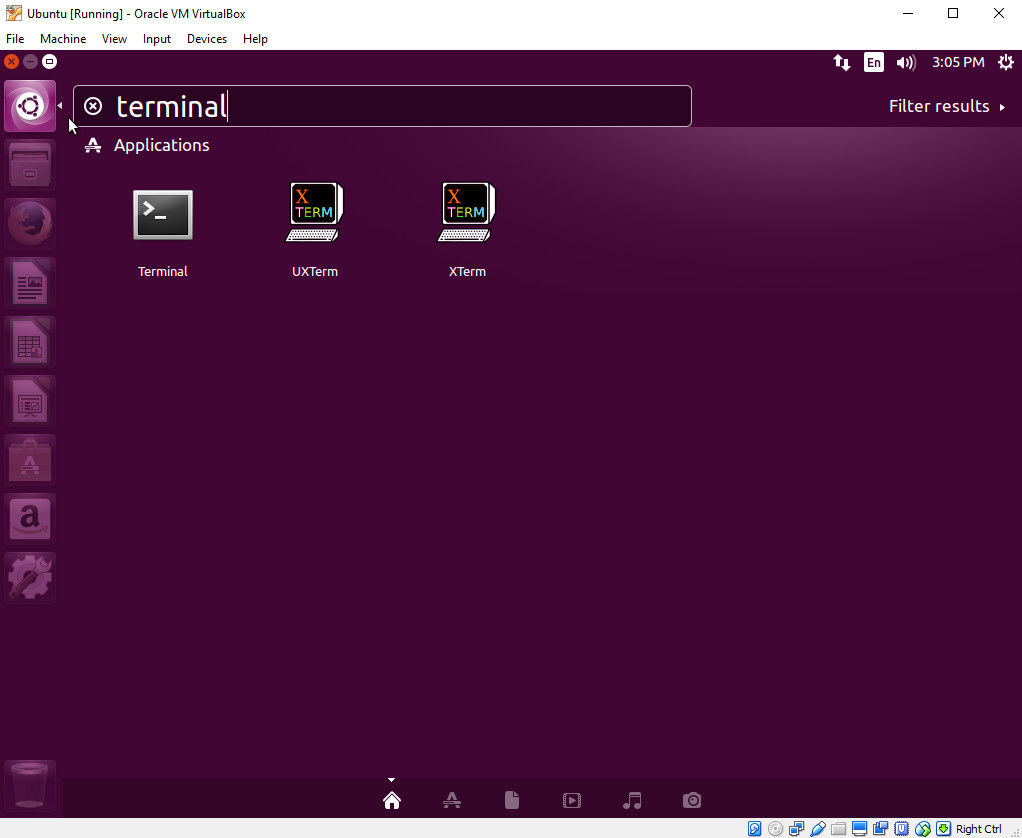
Click on the top left icon and type terminal and double-click on the first Terminal icon with the >_ in the window.
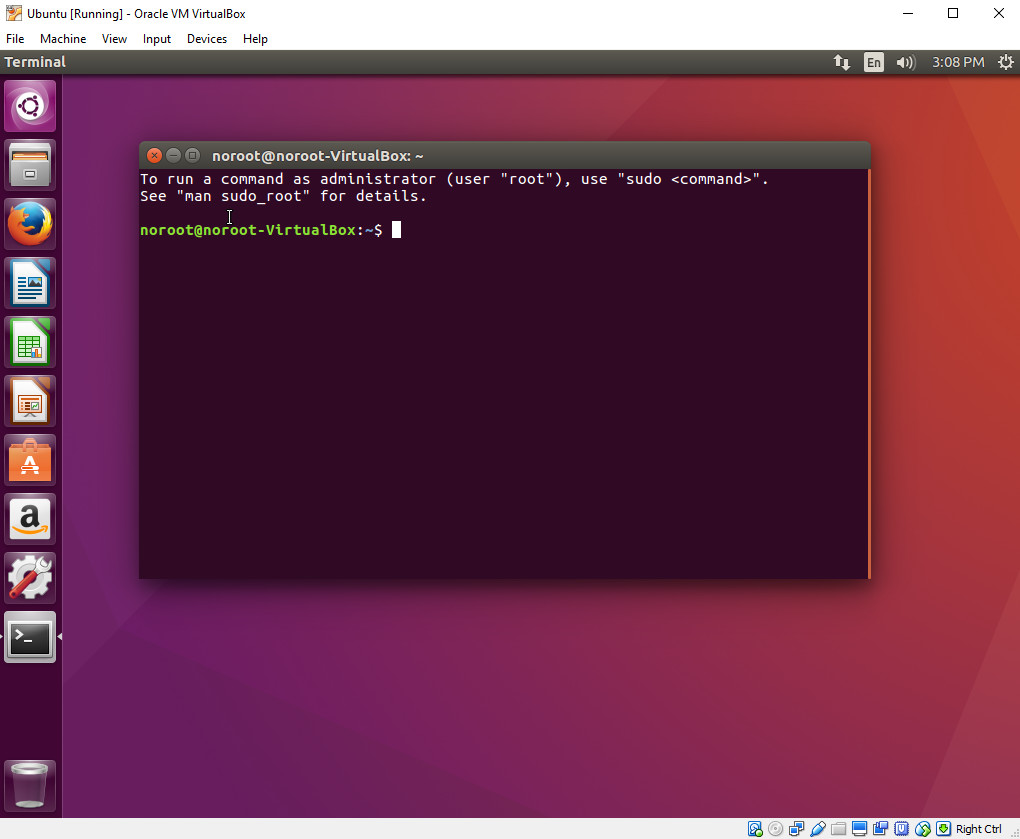
You will see a Terminal icon at the bottom left of your screen. Right-click on it and select Lock to Launcher so that it will be available for you once you close the window.
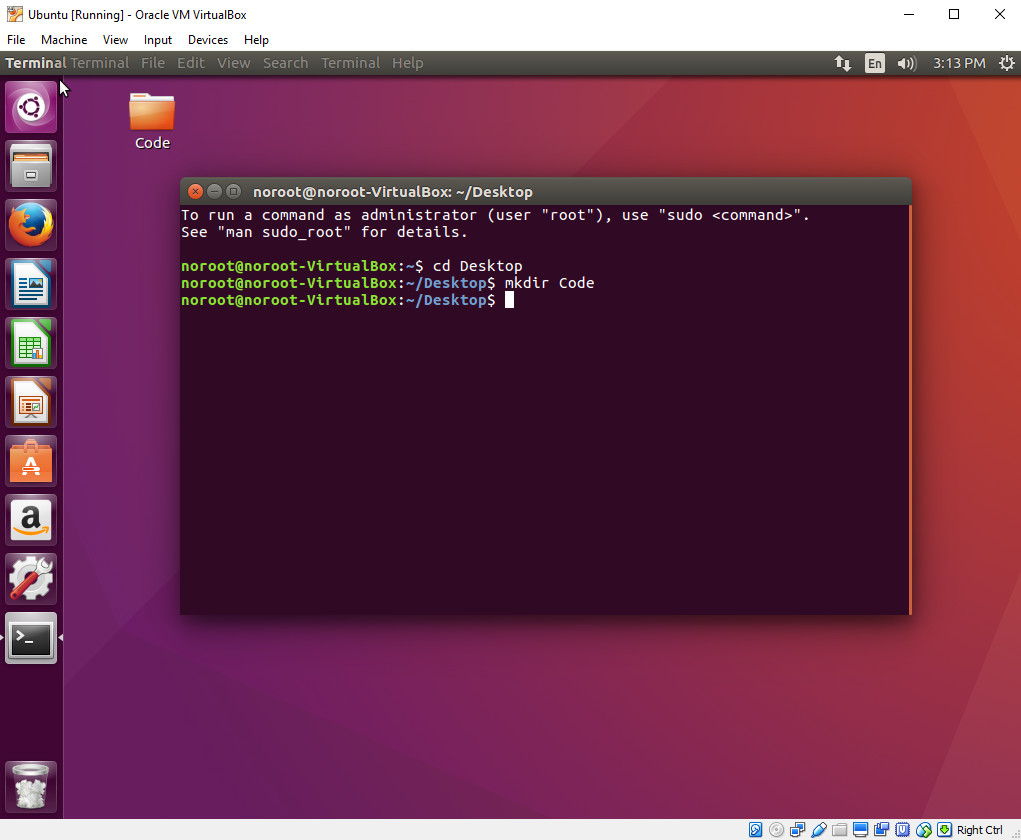
In the terminal window type cd Desktop and press Enter. Then type mkdir Code and press enter. The first command moves you into the Desktop directory and the mkdir command creates a folder on the Desktop called Code so that we have a place to store our software applications that we create.

It is important you keep your version of Linux up to date. Every time you login, you should type the following commands. First, sudo apt-get update and press enter.

Next you should then type sudo apt-get upgrade and press enter.

In order to work with 32-bit Assembly examination, we need to install the gcc multilib package so that we can compile 32-bit versions of C code for examination. Type sudo apt-get install gcc-multilib and press enter.
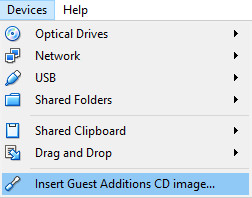
Finally click on Devices and click Insert Guest Additions CD Image… in order to get a better working functionality out of your VM.
This has been a very long tutorial however necessary to get you a working copy of Linux so that we can continue with our future tutorials.
I look forward to seeing you all next week when we learn how to use the vim text editor to begin coding!